Some years ago, I blogged about how to run PostGIS and pgAdmin in Docker containers, with a follow-up on PostGIS with Docker Compose. With Podman, we got a great Docker alternative: It is more secure (no deamon running with superuser privileges), completely open source (not true for some parts of Docker), the commands and options are almost the same (podman run instead of docker run etc.), you can still use the images from Docker Hub … And best of all, the concept of pods makes our life easier. Nowadays, this might be the easiest way to set up the latest versions of PostGIS and pgAdmin on Linux (avoiding dependency hell).
Pods are a group of containers that behave like if they are all running on the same host (a concept from Kubernetes). With Docker, it was tricky to get the Database, pgAdmin and ogr2ogr or QGIS talking to each other, everything was routed over the network, with every container having its own IP address.
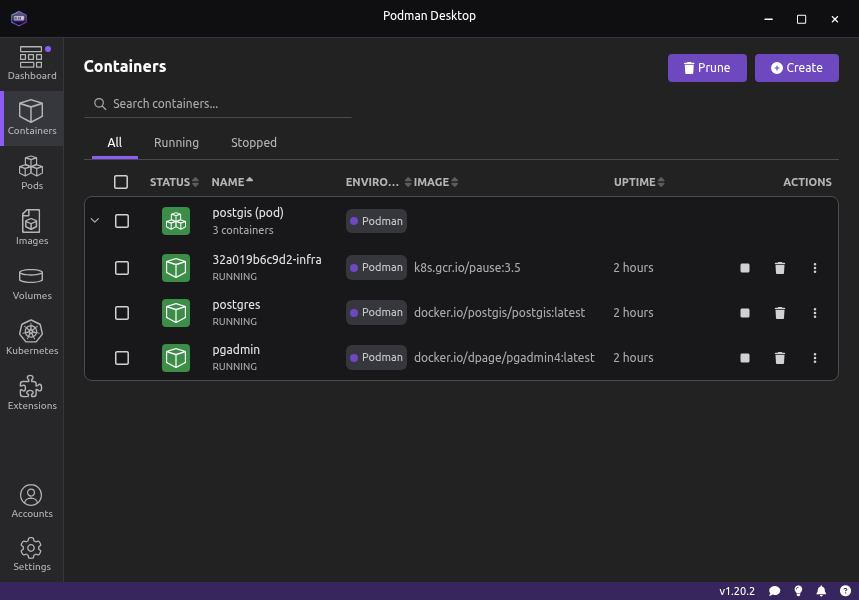
Podman is in the repo of most Linux distros and simple to install. It is also available for Windows and Mac. Optionally, you can add Podman Desktop as a GUI.
A Pod for PostGIS
Let’s make folders for our data volumes:
mkdir -p ~/poddata/postgres
mkdir -p ~/poddata/pgadmin
Create the pod (with port forwarding restricted to local host):
podman pod create --name postgis -p 127.0.0.1:5432:5432 -p 127.0.0.1:8080:80
The following command fetches the PostGIS image from Docker Hub (if the latest version was not yet downloaded), creates and starts the container inside the pod. The data folder is persisted between sessions by mounting a volume. Note: On Docker Hub, the image is called postgis/postgis, but you must prefix it with docker.io (podman can use images from other hubs, too). If you want a specific version, add a tag like postgis/postgis:16-3.4.
podman run -d --pod postgis --name postgres \
  -e POSTGRES_USER=gisuser \
  -e POSTGRES_PASSWORD=mypassword \
  -v ~/poddata/postgres:/var/lib/postgresql/data:Z \
  docker.io/postgis/postgis
Now we do the same with pgAdmin:
podman run -d --pod postgis --name pgadmin \
  -e PGADMIN_DEFAULT_EMAIL=mail@example.com \
  -e PGADMIN_DEFAULT_PASSWORD=SuperSecret \
  -v ~/poddata/pgadmin:/var/lib/pgadmin:Z \
  docker.io/dpage/pgadmin4
Wait a few seconds, then log in into pgAdmin: http://localhost:8080/
To connect to the database in pgAdmin: Hostname localhost, port 5432, user and password as given in the podman run command.
Now you can rightclick the server and create a new database (you only need to give the name, e.g. “gis”), open the query window and add the PostGIS extension:
CREATE EXTENSION postgis;
Manage your pod
After rebooting your system, you start the pod with
podman pod start postgis
If you want to stop the pod and all it’s containers:
podman pod stop postgis
View logs:
podman logs postgres
podman logs pgadmin
If you want to have the database always up and running, you can manage it with systemd.
Connect with QGIS or OGR
With the same credentials, you can access the database from QGIS and with ogr2ogr. You can use ogr2ogr to get data from all kinds of file formats into the database. This command-line tool is a part of gdal, and you have it already installed if you use e.g. QGIS.
For example load a shapefile:
ogr2ogr -nln nyc_census_blocks_2000 -nlt PROMOTE_TO_MULTI -lco GEOMETRY_NAME=geom -lco FID=gid -lco PRECISION=NO Pg:"dbname=gis host=localhost user=gisuser password=mypassword port=5432" nyc_census_blocks.shp
Be sure to use the correct quotes and the correct password. The option -nlt PROMOTE_TO_MULTI is only needed if you have a mix of e.g. polygons and multi-polygons. Note that ogr2ogr can filter the data while loading it into the database using an SQL query: Simply add -sql your-sql-query to the command. This even works if the input file is not a database, e.g. with shapefiles.
In QGIS, if you add a layer to the database using the DB Manager, make sure to check the right options: You might want to have “Convert field names to lowercase” and “Create spatial index” checked. With a layer without any multi-part features (multi-polygons etc.) you want “Do not promote to multi-polygon” to be checked. With a layer containing multi-polygons, it must be unchecked. You can run any SELECT query and load the result as a new layer.
Upgrading
There is no such thing as upgrading a container: You simply delete it and create a new one, and point the volume to the same folder. If you are upgrading to a higher major PostgreSQL version, however, you must make a backup first, and import the backup afterwards.
You can create a backup of the database with pgAdmin or in the terminal:
podman exec -it postgres pg_dumpall -U gisuser > ~/backup/all_databases.sql
Pull the new image, stop and delete the existing container (the data in the volumes will stay):
podman pull postgis/postgis:latest
podman stop postgres
podman rm postgres
And start a new posgres container with the same podman run as above.